Follow these instructions to deactivate a Facebook account via the app if you want to take a vacation from Facebook but don’t want to cancel your account. If you so want, you may subsequently reactivate Facebook. Your profile won’t be visible to other users when you deactivate Facebook on your iPhone, but your messages will.
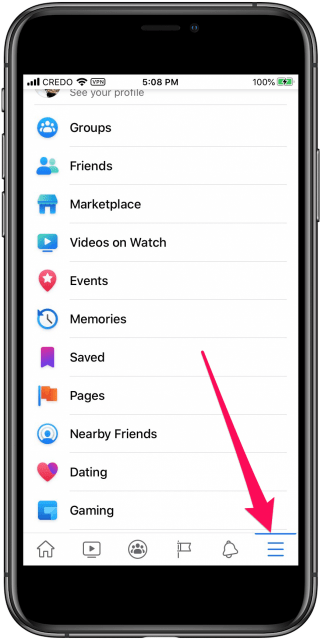
- On your iPhone, open the Facebook app and select the menu option in the bottom right corner.
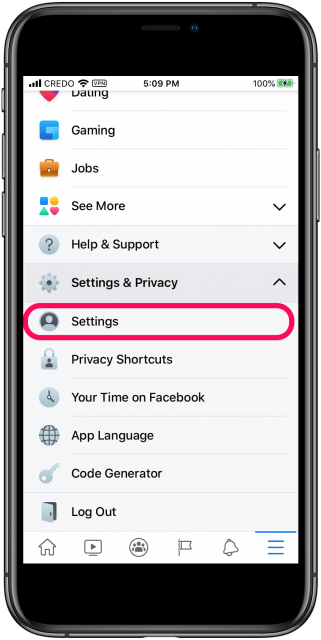
- Tap Settings & Privacy at the bottom by swiping downward.

- Select Settings.
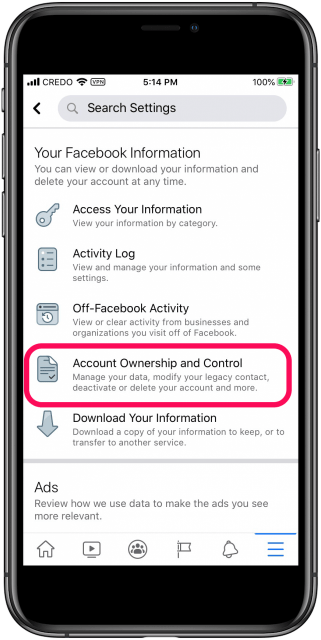
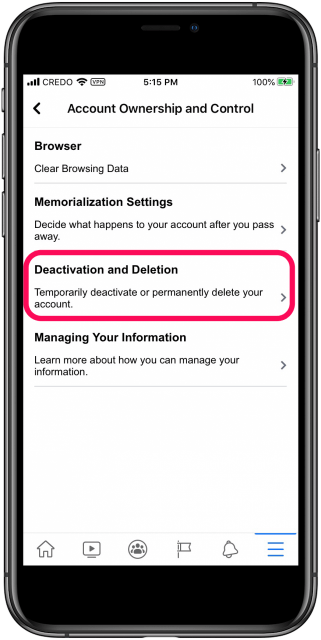
- Tap Account Ownership and Control after another downward swipe.
- Click on Deactivation and Deletion.
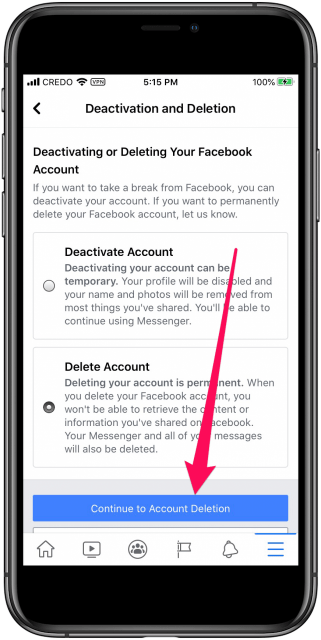
- Tap Continue to Account Deactivation after selecting Deactivate Account.
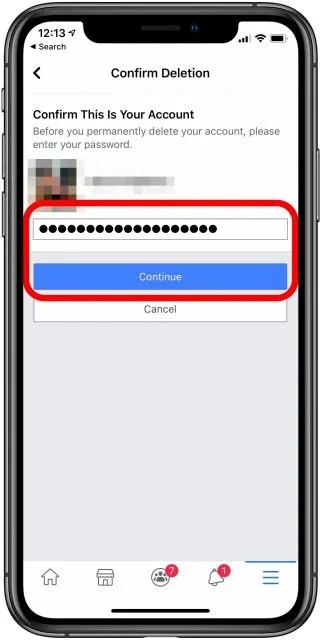
- If prompted, enter your Facebook password.
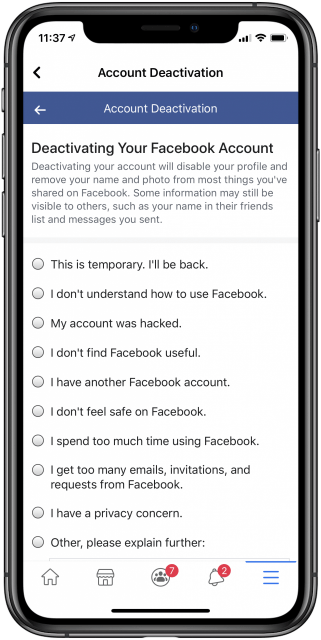
- Tap Continue after entering a justification for deactivating Facebook.
- Choose how long you want Facebook to be inactive by scrolling down.
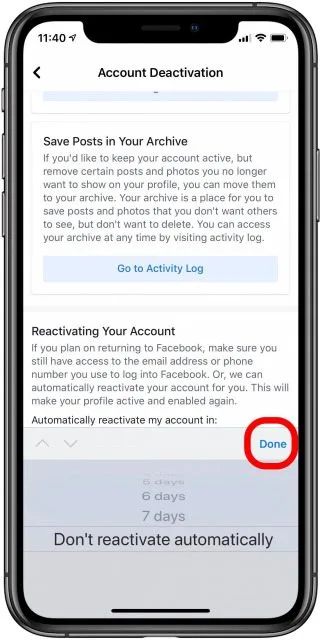
- After selecting Done, select Continue.

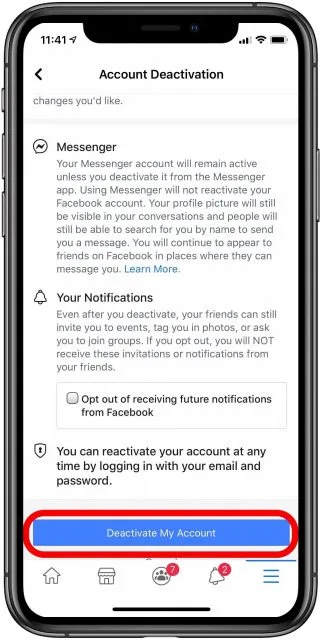
- To finish deactivating your account, tap Deactivate My Account.
How to Reactivate Facebook
The procedure to reactivate Facebook is the same whether you decided to delete it or deactivate your account. The main distinction is that, unlike deactivated accounts, erased Facebook accounts have a 30-day window in which to alter your mind and reactivate.
- Open the Facebook App.
- Use your email address or phone number and password to log in.
- Your Facebook profile has been activated.
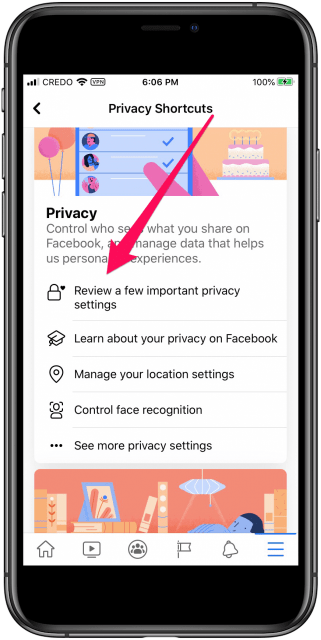
How to Change the Privacy Settings on Facebook
You may easily change your privacy and security settings if you want to remain using the platform but have more control over your privacy and the information Facebook stores about you, such as location and facial recognition.
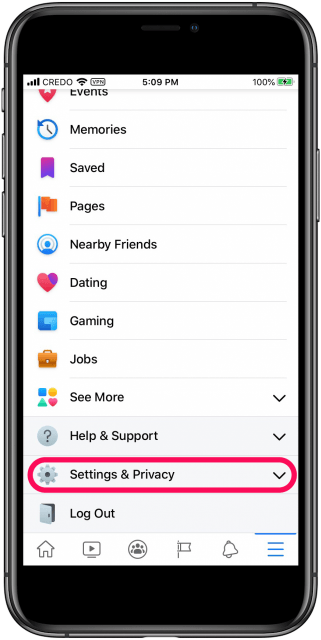
- On your iPhone, open the Facebook app and select the menu option in the bottom right corner.

- At the bottom, swipe down and select Settings & Privacy.
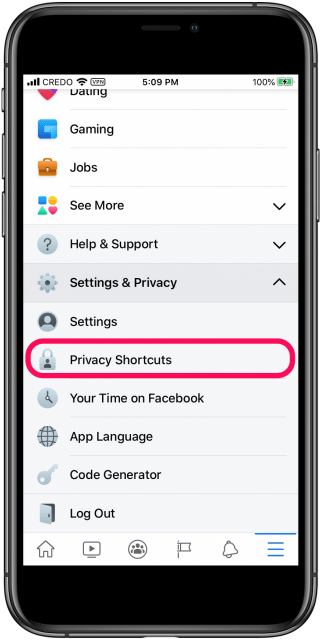
- Select the Privacy Shortcuts button.
- Read over the different privacy and data options and make the necessary adjustments.